Step one: use tracings of the sole and upper of the existing shoe to create a pattern.

Brown vinyl that I've had forever makes a good choice for the sole. I trace out the shape of the sole but cut a rough 1/2" seam allowance around the traced line.

For the insole, I want something that will cushion slightly but still hold the shape. This extra-heavy fusible I got at the Victoria sewing show this year is just the thing.
 I cut two soles from the fusible as well, this time with no seam allowance. Two lightweight cardboard soles (not shown) are also cut.
For the lining of the insole and upper, I hit my stash for a cotton print that will complement the Tinkerbell green of the upper. I cut these out from both pattern pieces, adding seam allowances.
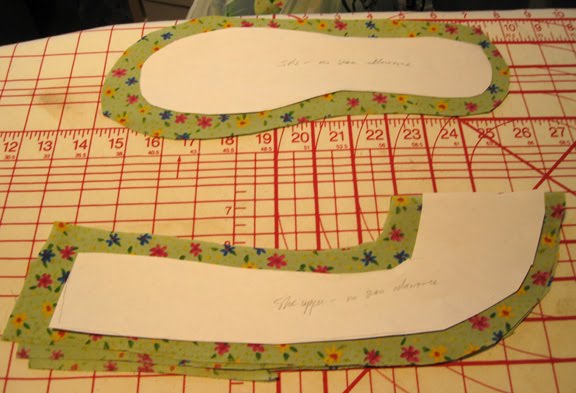
And, finally, I cut out uppers with seam allowance of the primary fabric...

...and attach to the wrong side a much lighter-weight fusible web, just to add some body.

A quick check on the original shoe suggests that everything is just about right.

I sew the heel seams of both the lining and the main fabric uppers.

Pressing the seams open reduces bulk in the heel.

Next I peel off the paper backing and fuse the lining and the upper together, wrong sides together.

Pinning the upper to the sole should start from the heel and move forward evenly on both sides to keep as smooth a finish as possible. I ended up having to slightly gather the toe of the upper for a better fit.
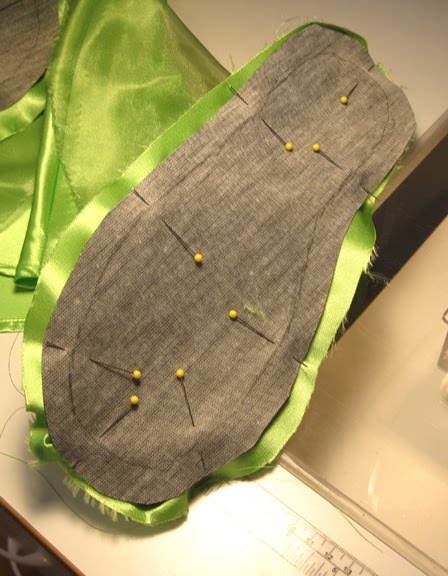
Moment of truth - stitching it down!

To make the turning process cleaner, I grade the seam allowance, trimming the sole a little more closely to the seam, and clipping curves.

The turned result? Not runway- or even ready-to-wear-ready, but OK for its destination.

Getting the seam allowance to face toward the sole (so that the insole will hide the raw edges) isn't something I can do with pressing, thanks not just to the construction of the shoe but also to the fact that ironing will just melt the vinyl. I end up doing this step by hand, using an upholstery needle and a double thickness of strong thread. I'm not too fussy about perfectly straight lines or anything - just getting it tacked down appropriately.

By the time I finish them both, I'm glad I started with the difficult toe sections first, to get them out of the way.

Now for the insoles! I test the cardboard templates I first cut and trim them as needed to fit.
 They're positioned on top of the heavy-weight fusible, which is in turn centered on the WRONG side of the insole lining. Press thoroughly following manufacturer's directions on both sides to firmly adhere both the cardboard and the lining to the fusible.
Using scraps of the lightweight fusible used on the uppers, I cut bits to fit the entire seam allowance of each insole and fuse them.

Peeling off the paper backing, I clip curves roughly every inch or so around the entire insole.

These bits can then be fused to the wrong side of the cardboard. On the shallow curves you may be able to do up to 3-4 at once; on the deeper ones, in some cases, one at a time.

Voila! The insoles slip right in and cover up the raw edges of the sole, just as in a "real" shoe.

Now I trim down the seam allowance of the main edge of the uppers, using the fusible as a guide. A quick pressing from the inside helps ensure the upper and lining stay together and keep a clean edge.

A compatible color of single-fold bias tape is used to cover this edge. (If I had this project to do over again, I would complete this step before attaching the upper to the sole: even with the insoles removed, this was kind of a pain to maneuver at the sewing machine. But I wanted that "almost-done" moment that a finishing touch like a binding adds...)

Using extra bias, I create casings for elastic to act as straps, since these are not as "constructed" as real shoes and might otherwise have a tendency to slip off.

And the final Tinkerbell touch - pompoms I made ahead yesterday with white yarn and a touch of some lime green lame thread I happened to have around.


